How to use Stokki
Take a photo and choose where it is stored. Your items are then easy to find from the list or search.
Start from the beginning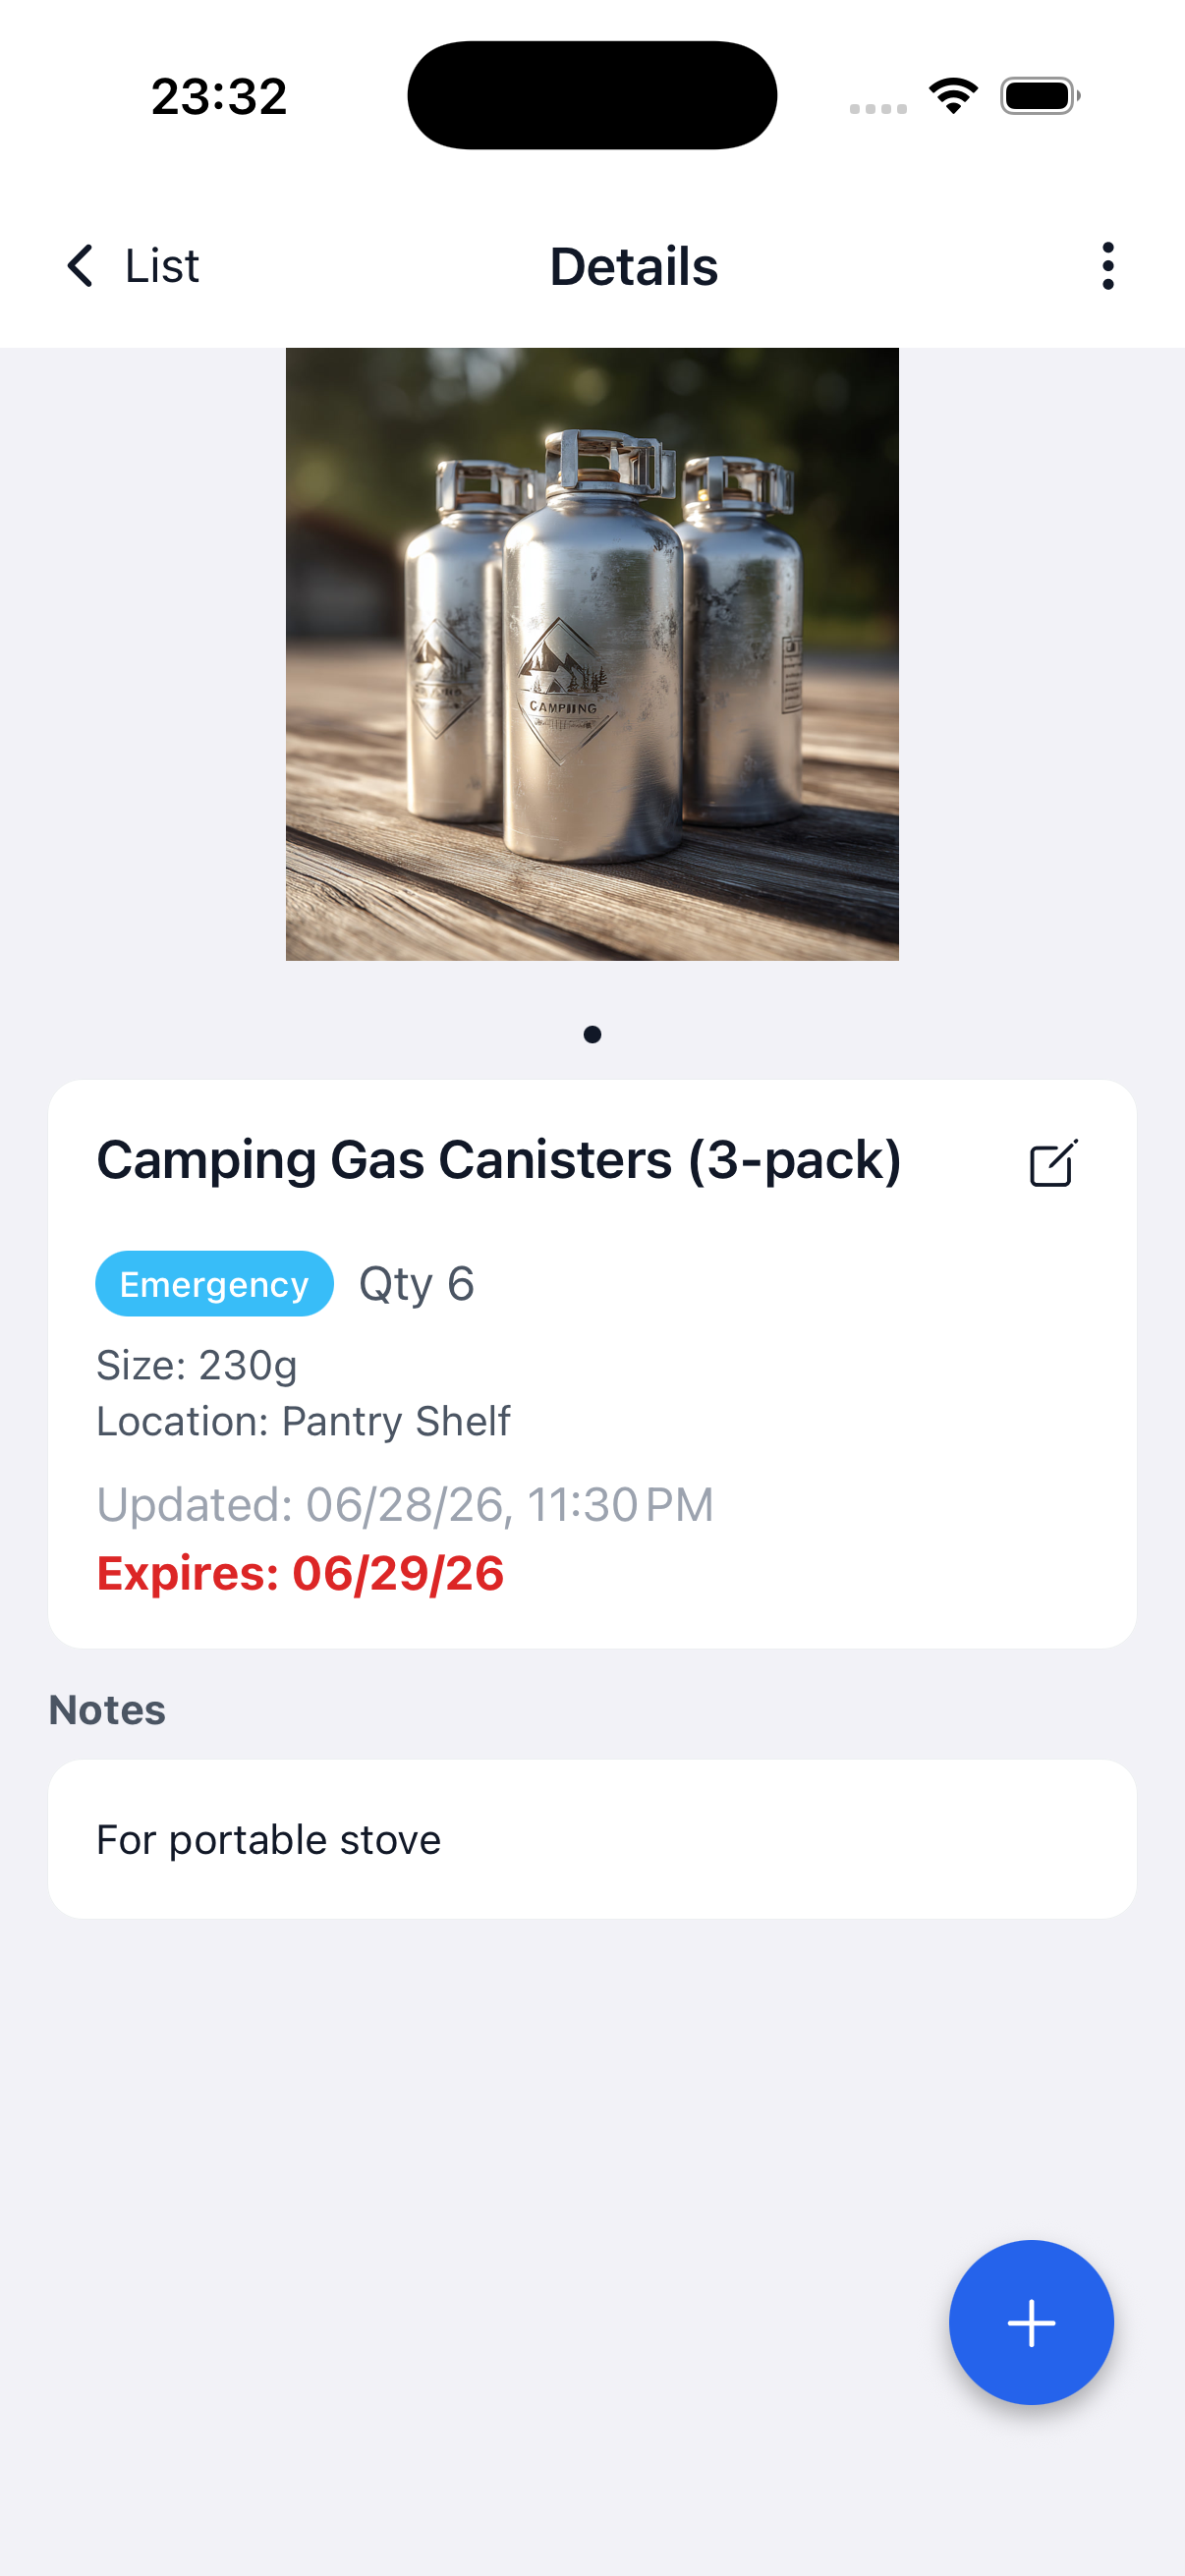
Create a folder for each purpose
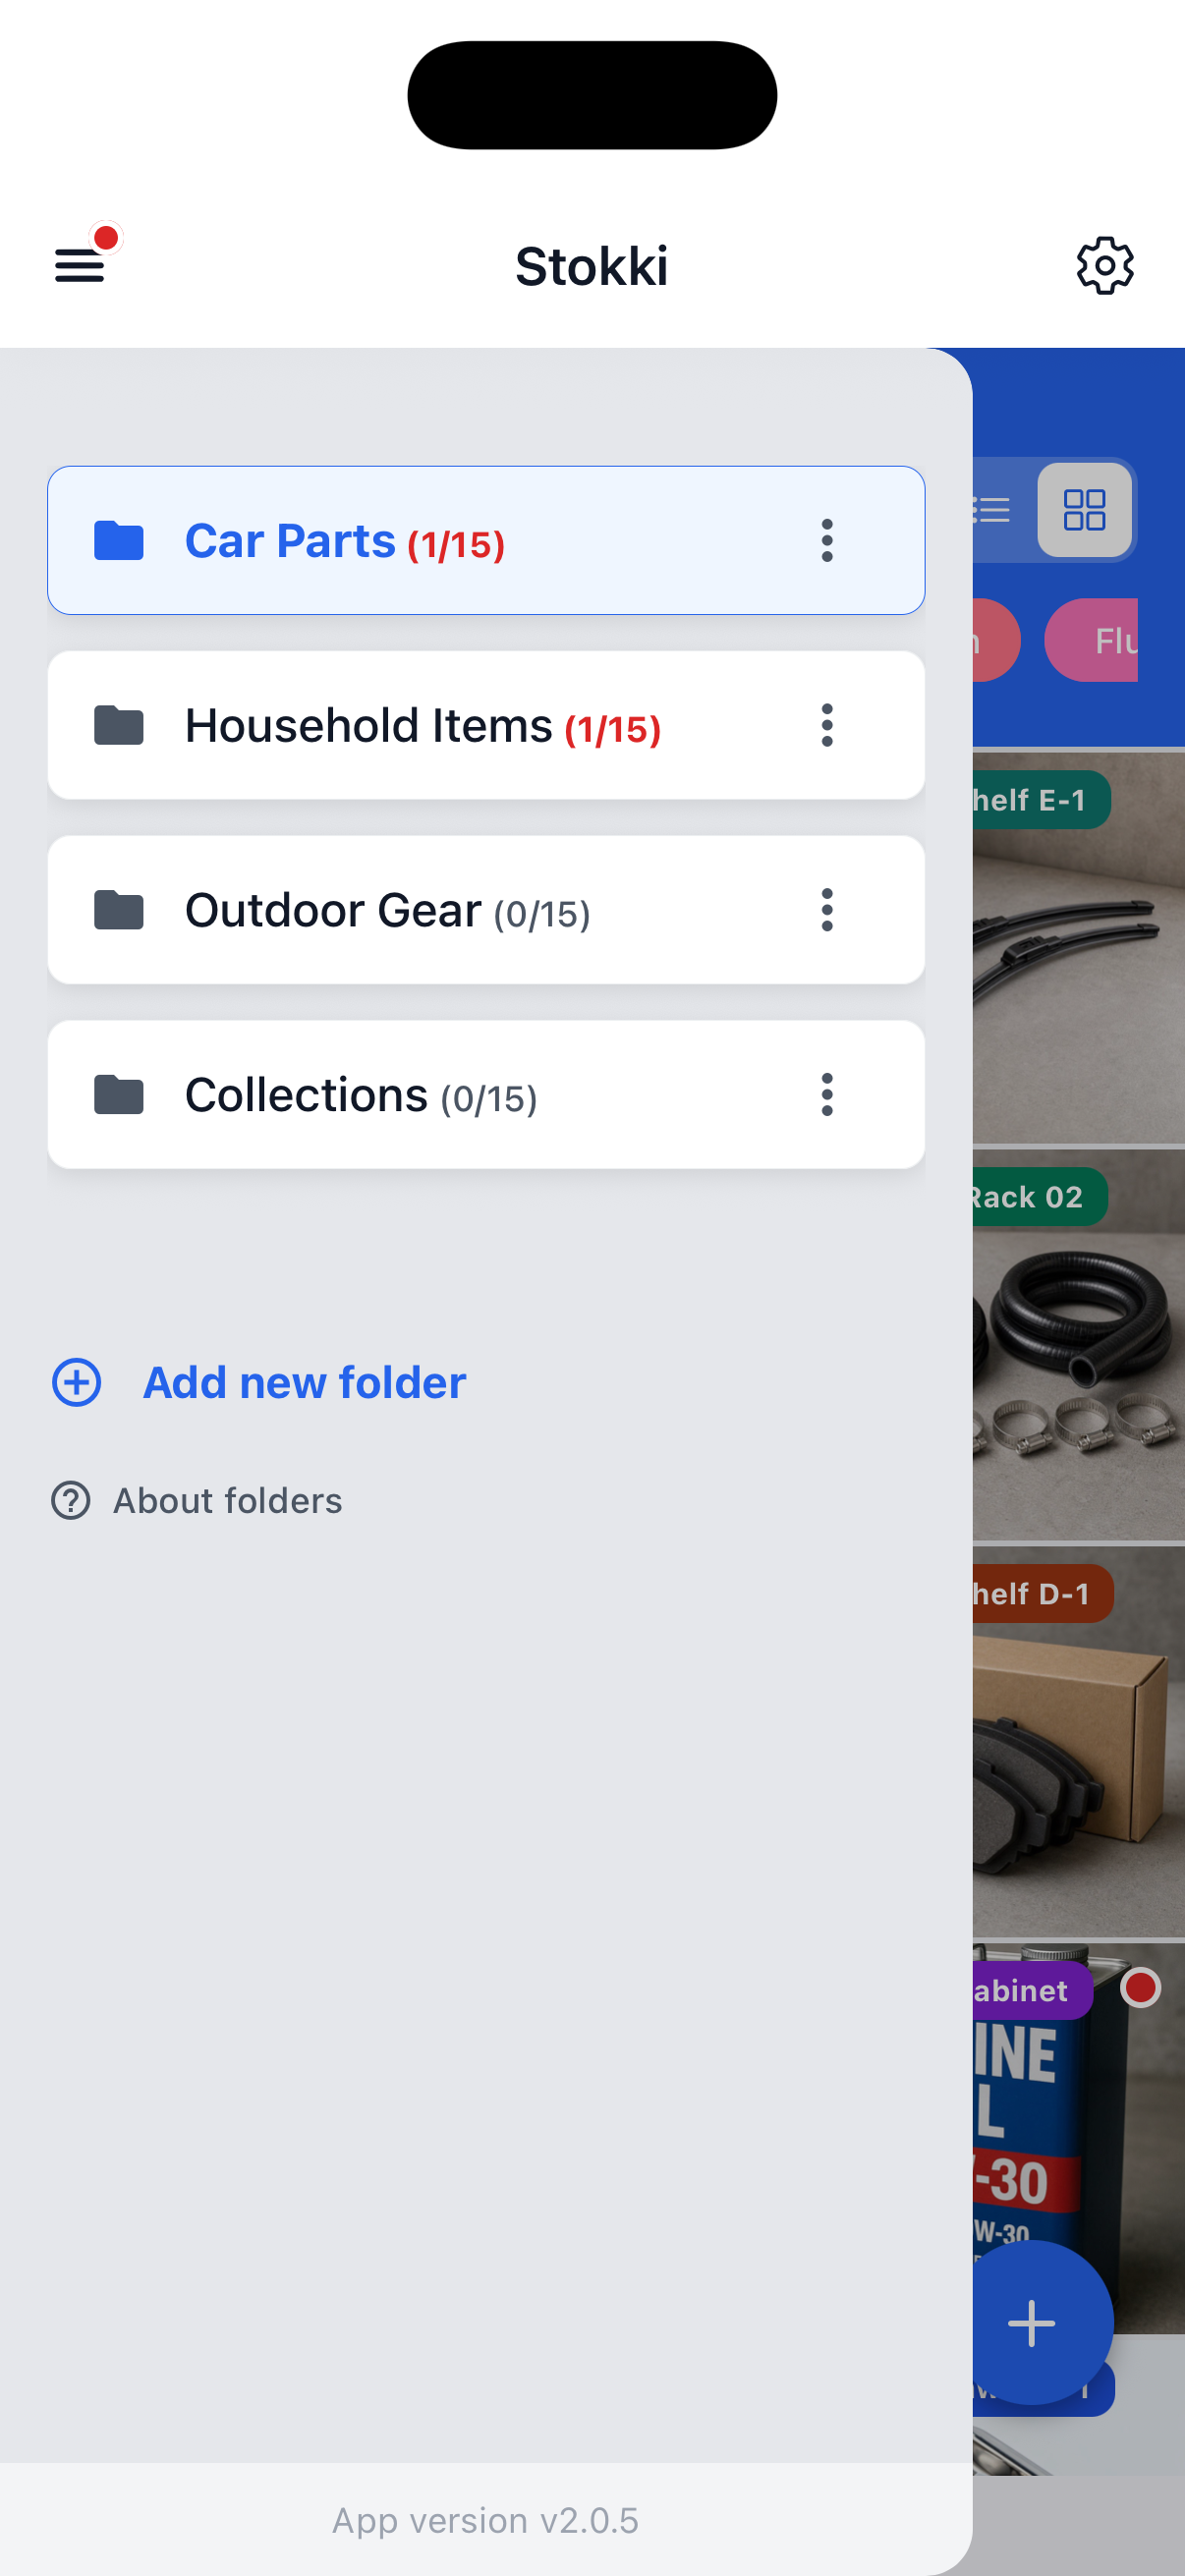
Open the menu in the top left and select “Add new folder.”
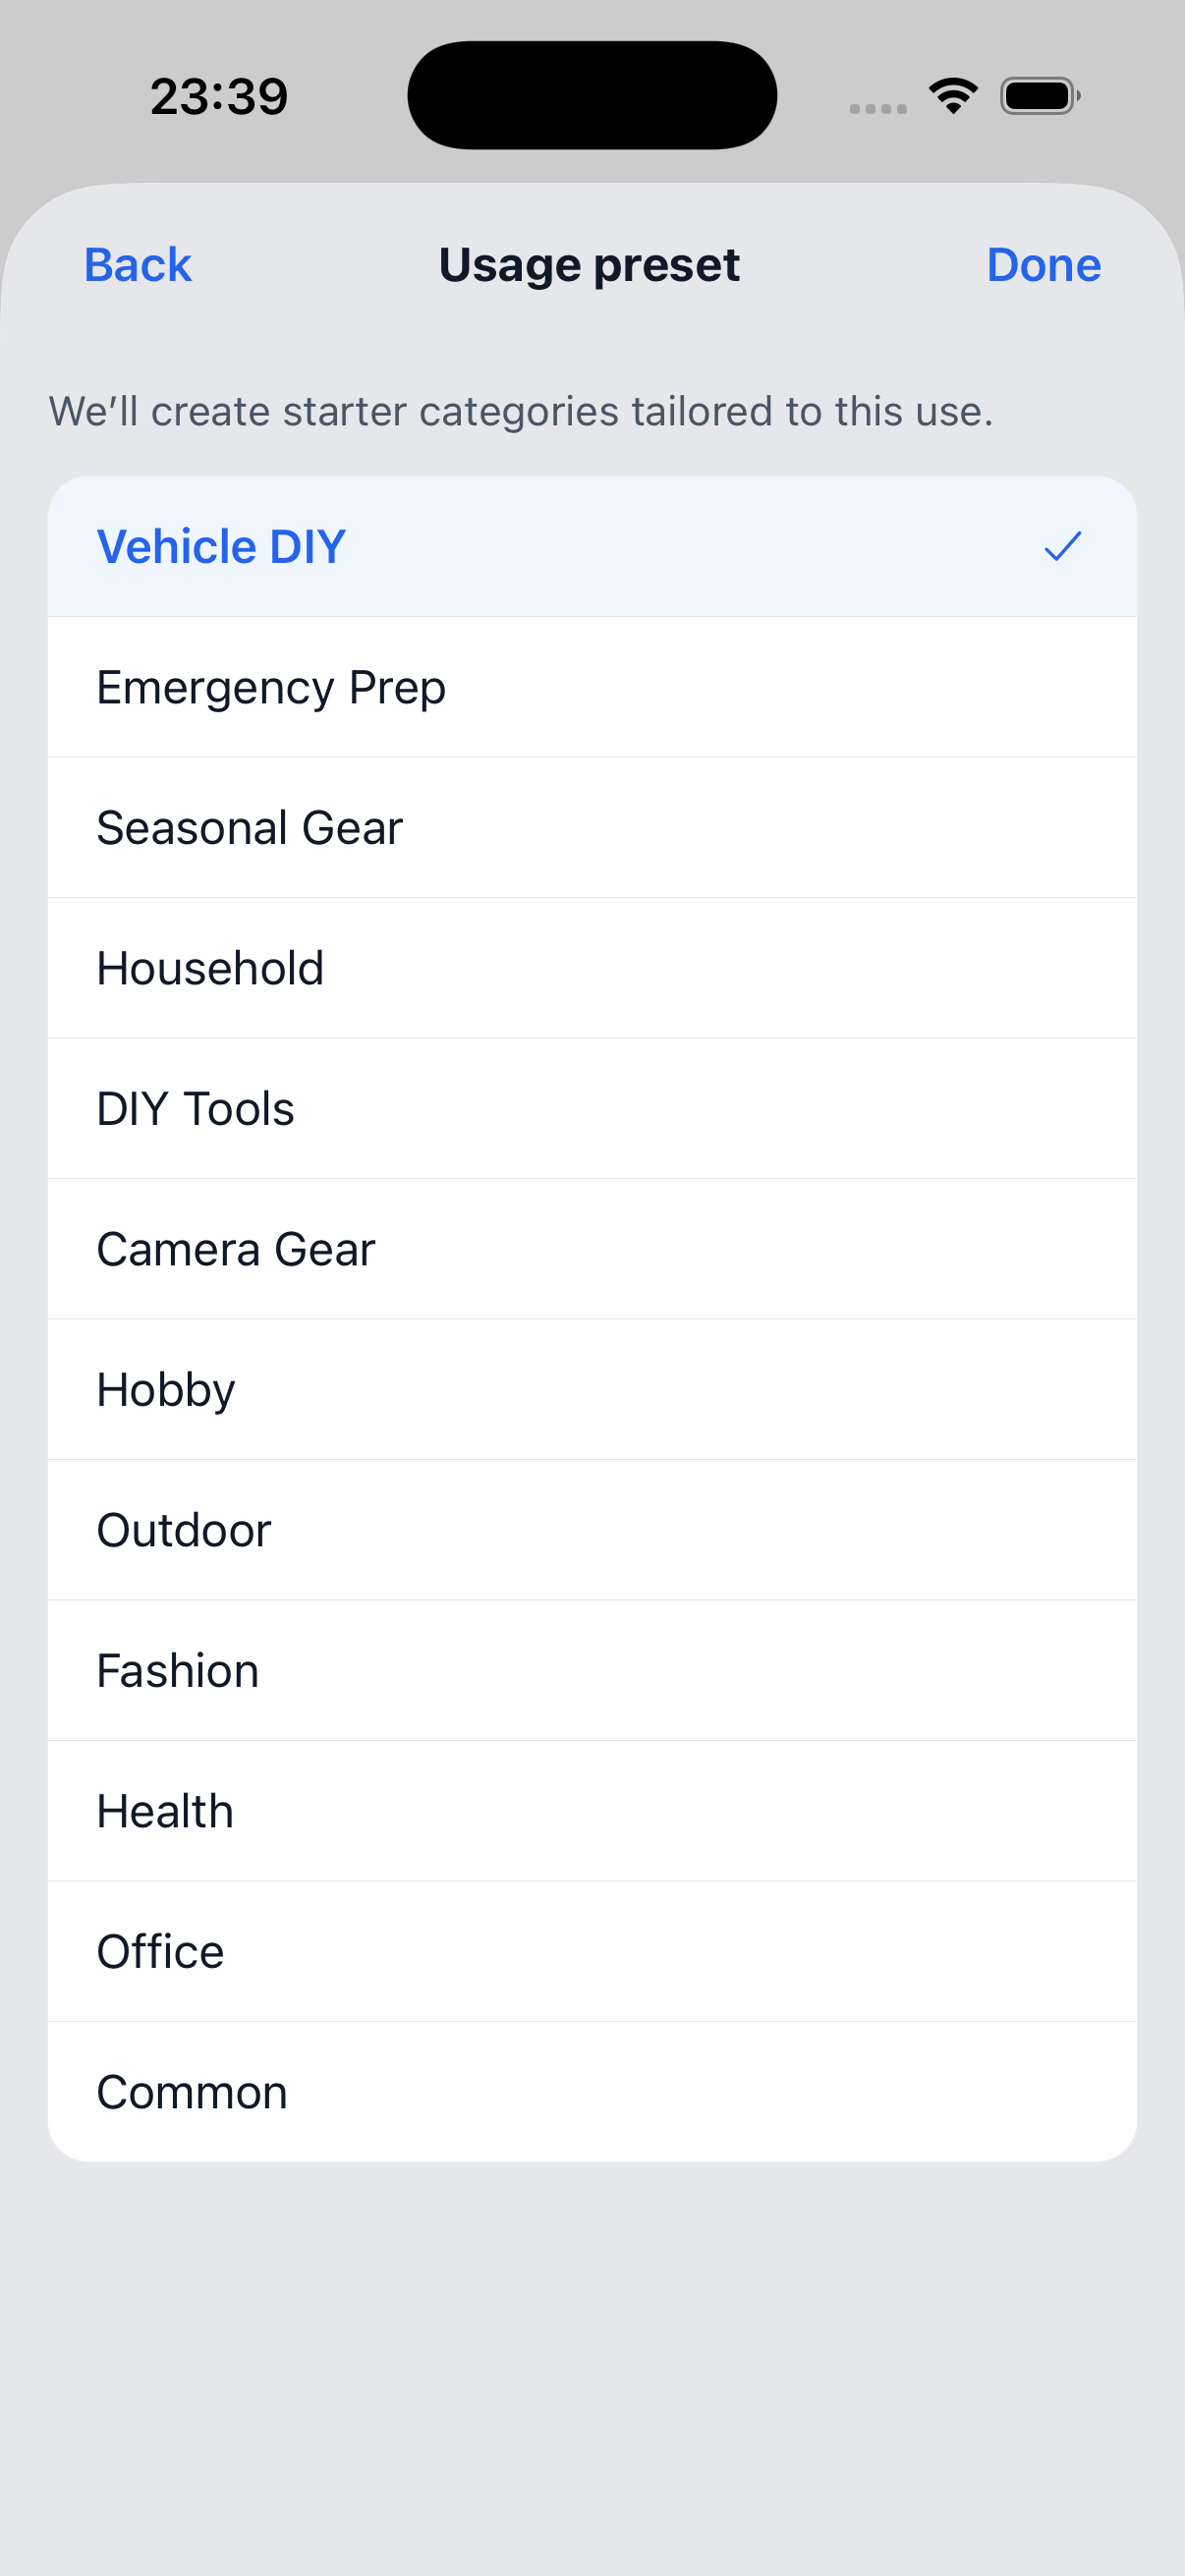
Choose a purpose preset to start with useful categories already prepared. Separate household goods, car parts, collections, and other item groups so they stay easy to find.
Add with a photo and find it quickly
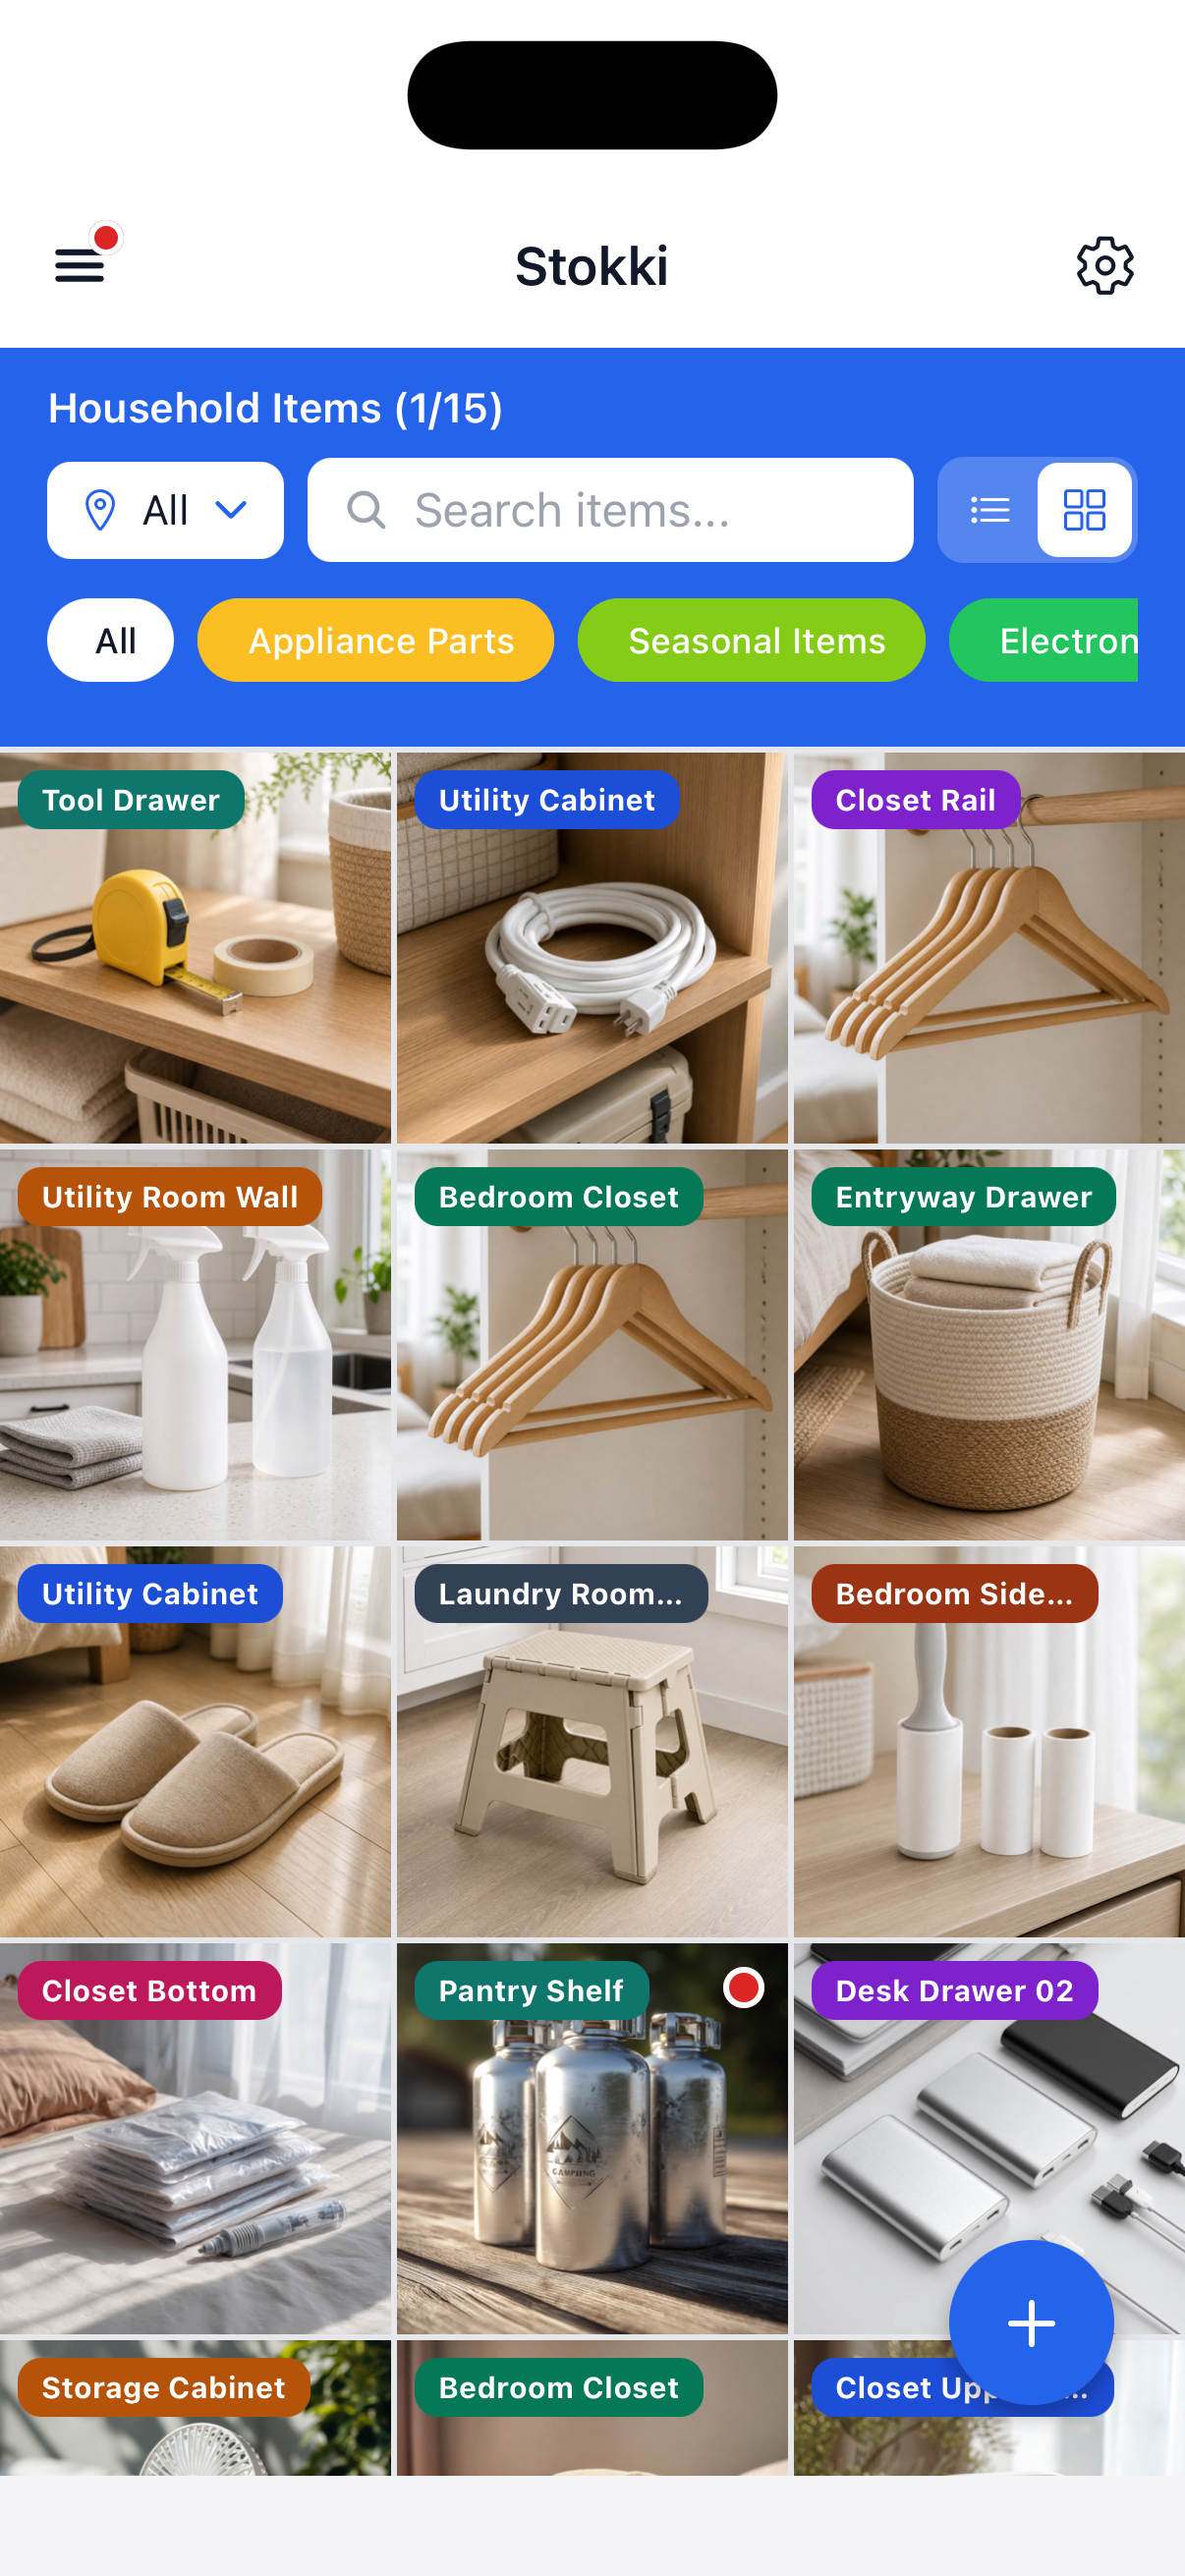
Tap the “+” button in the bottom right to add an item.
Add a photo, name, category, storage location, quantity, and other details. Search by name, filter by location or category, and switch between grid and list views. Tap a photo to review details, expiry dates, and notes.
Organize categories your way
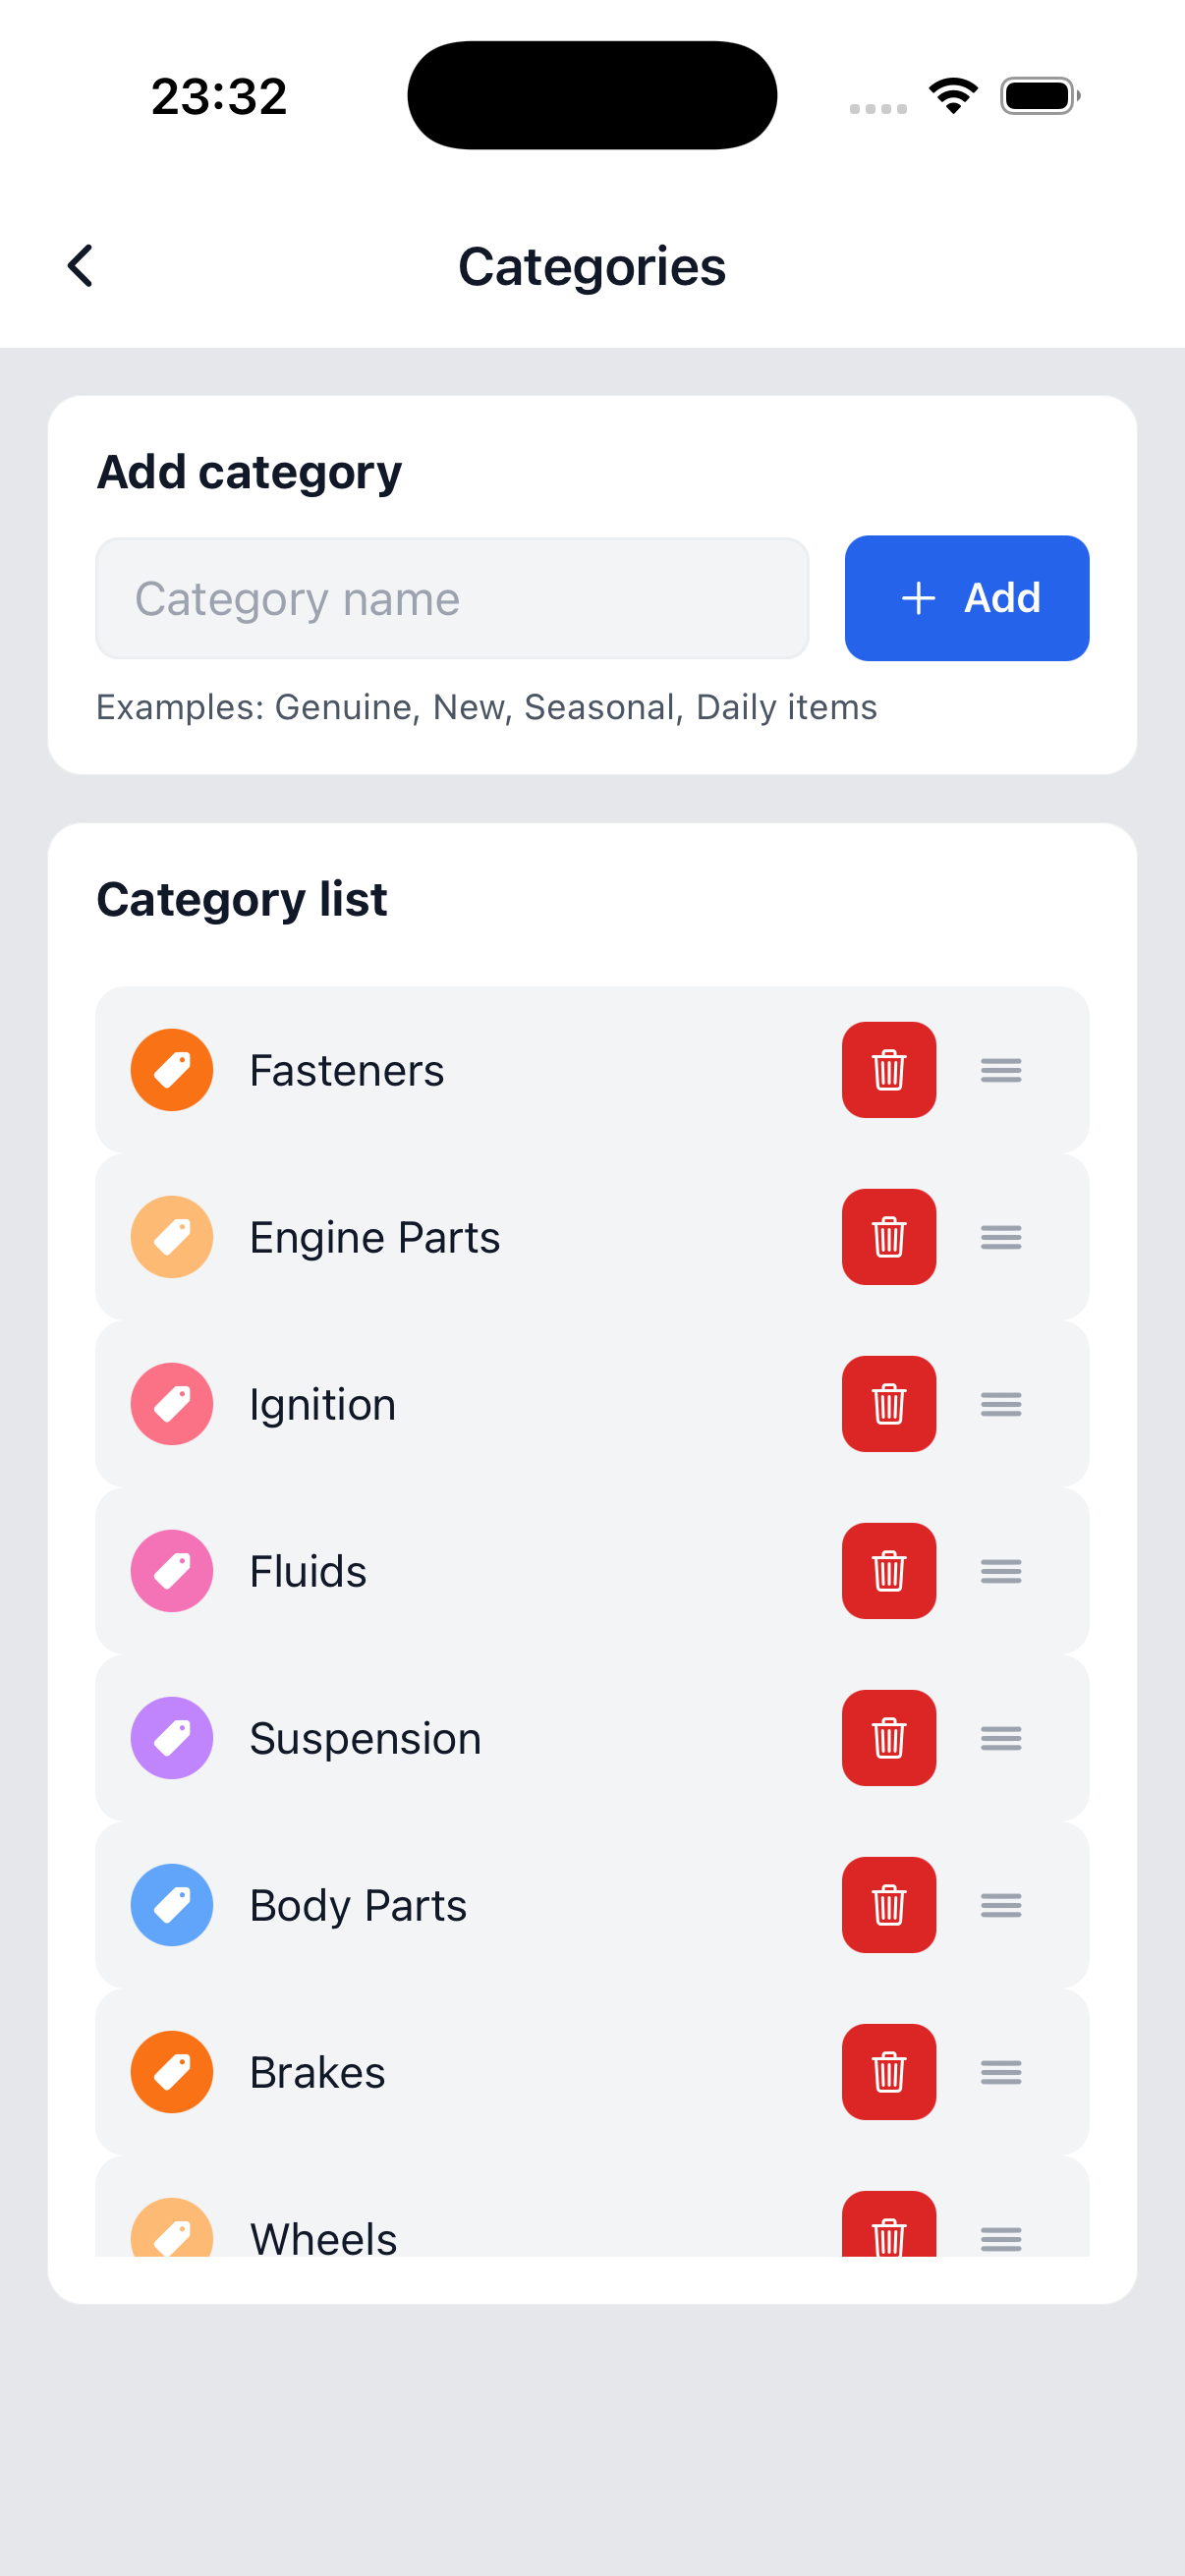
Add and reorder categories from Categories in Settings.
Create the labels you use most and arrange them to match your inventory. Colors are assigned automatically so categories are easy to distinguish in the list.
Back up important data
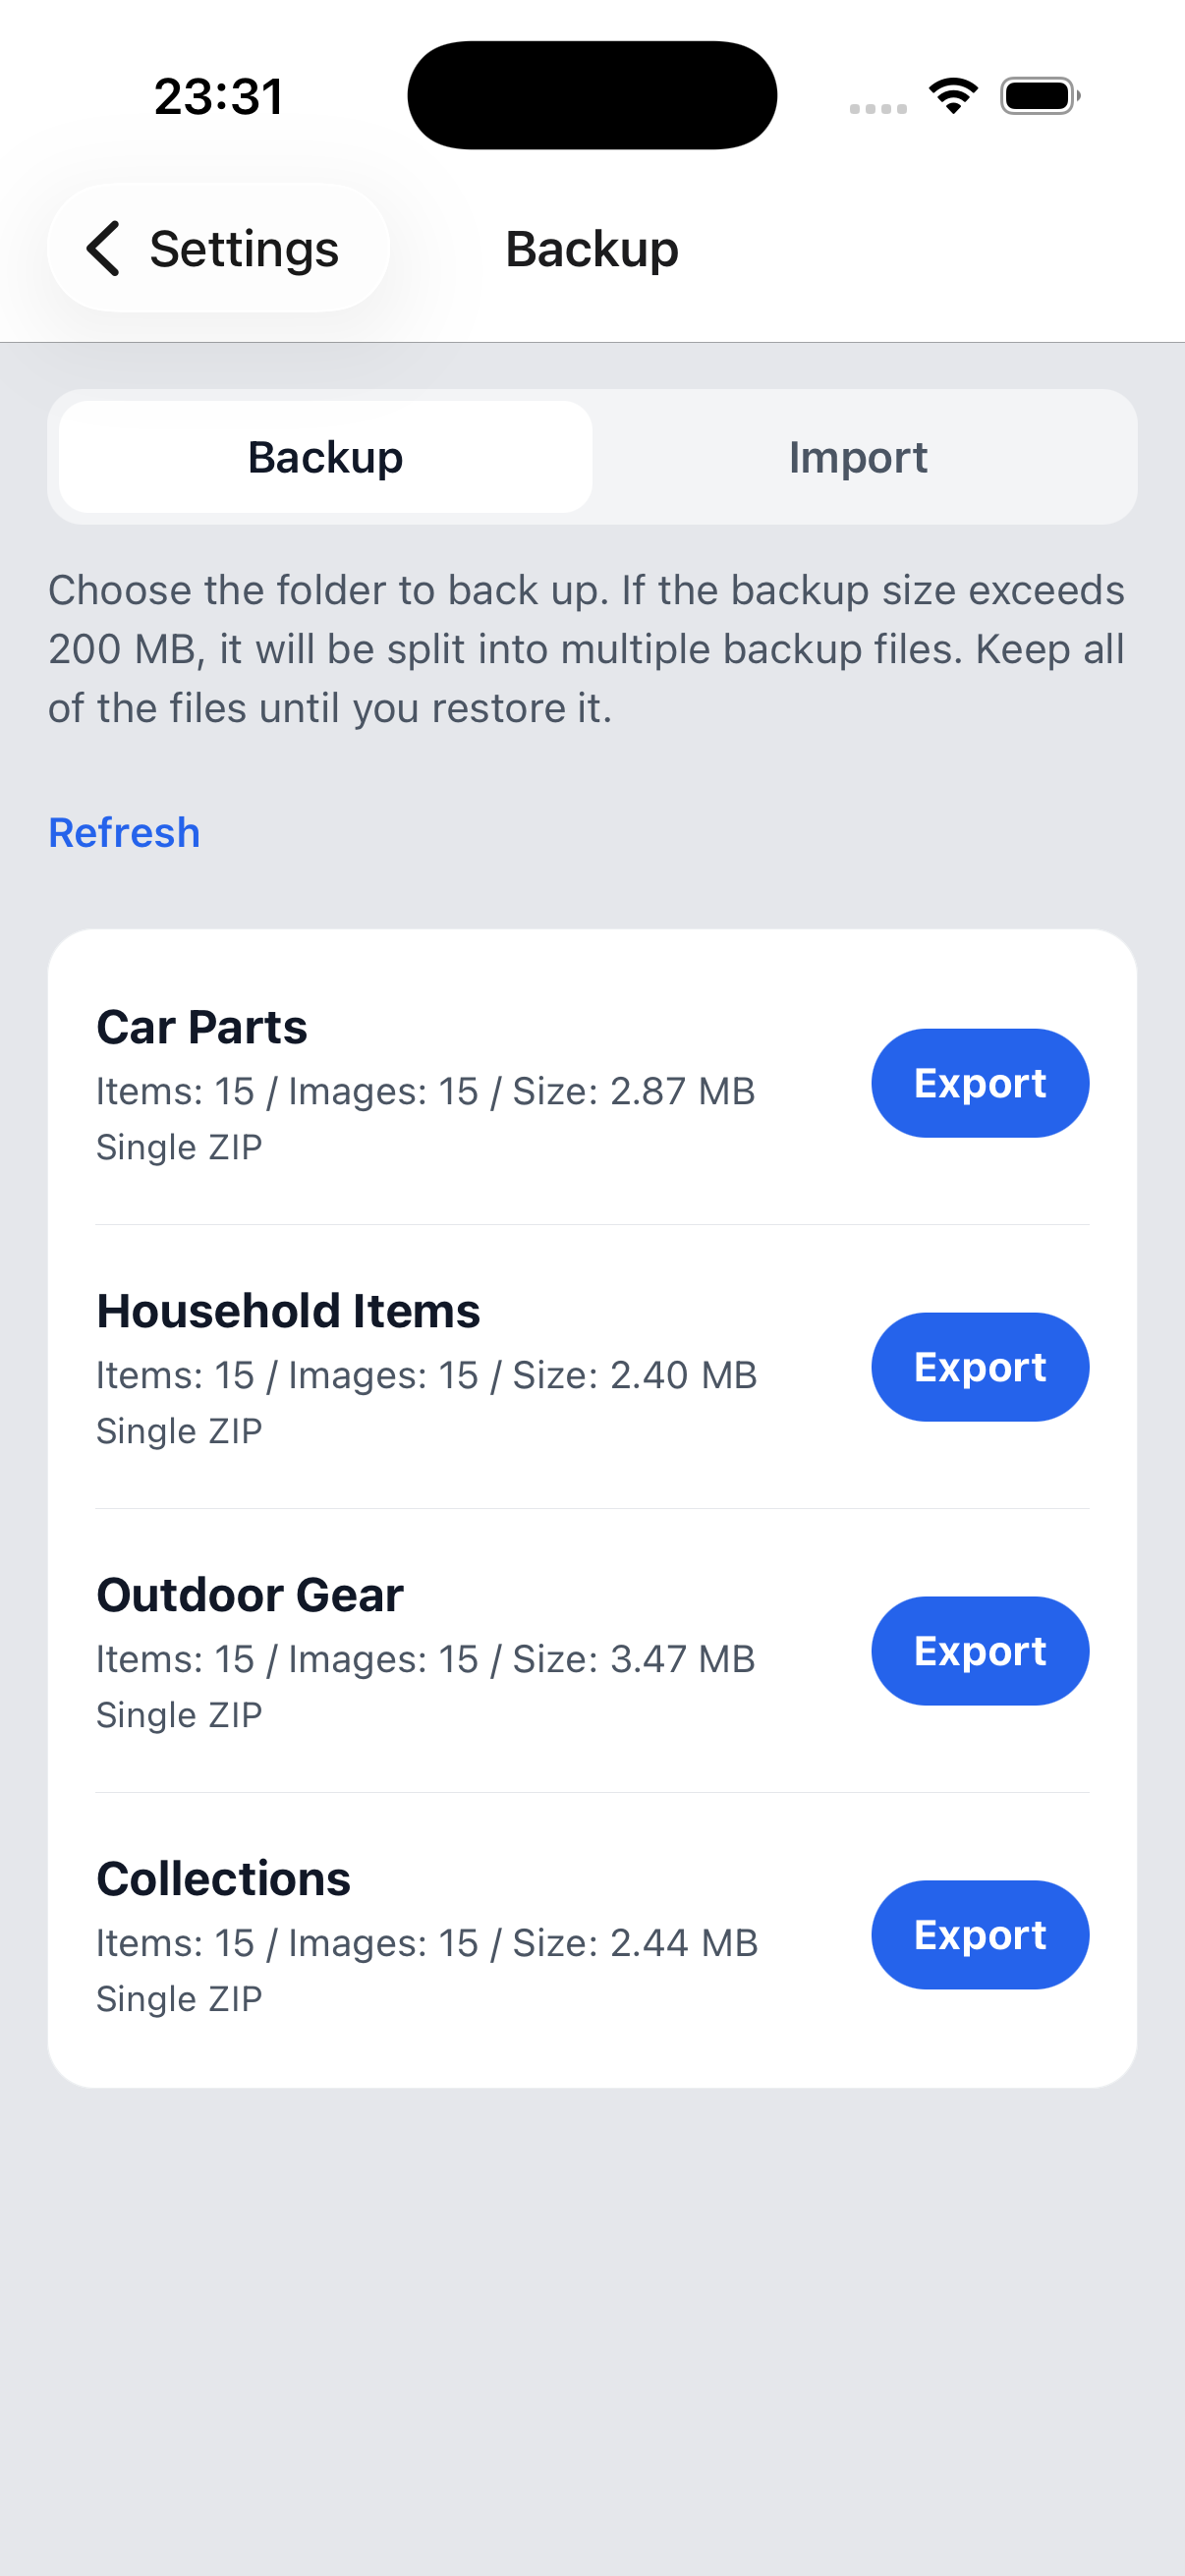
Open Backup in Settings and export each folder.
Save the ZIP files in a safe location. After changing devices or reinstalling the app, import them from the Restore tab. If a backup is split, keep every part together.
Need help?
If you have a question about using Stokki, send us a message from the contact page.
Contact us